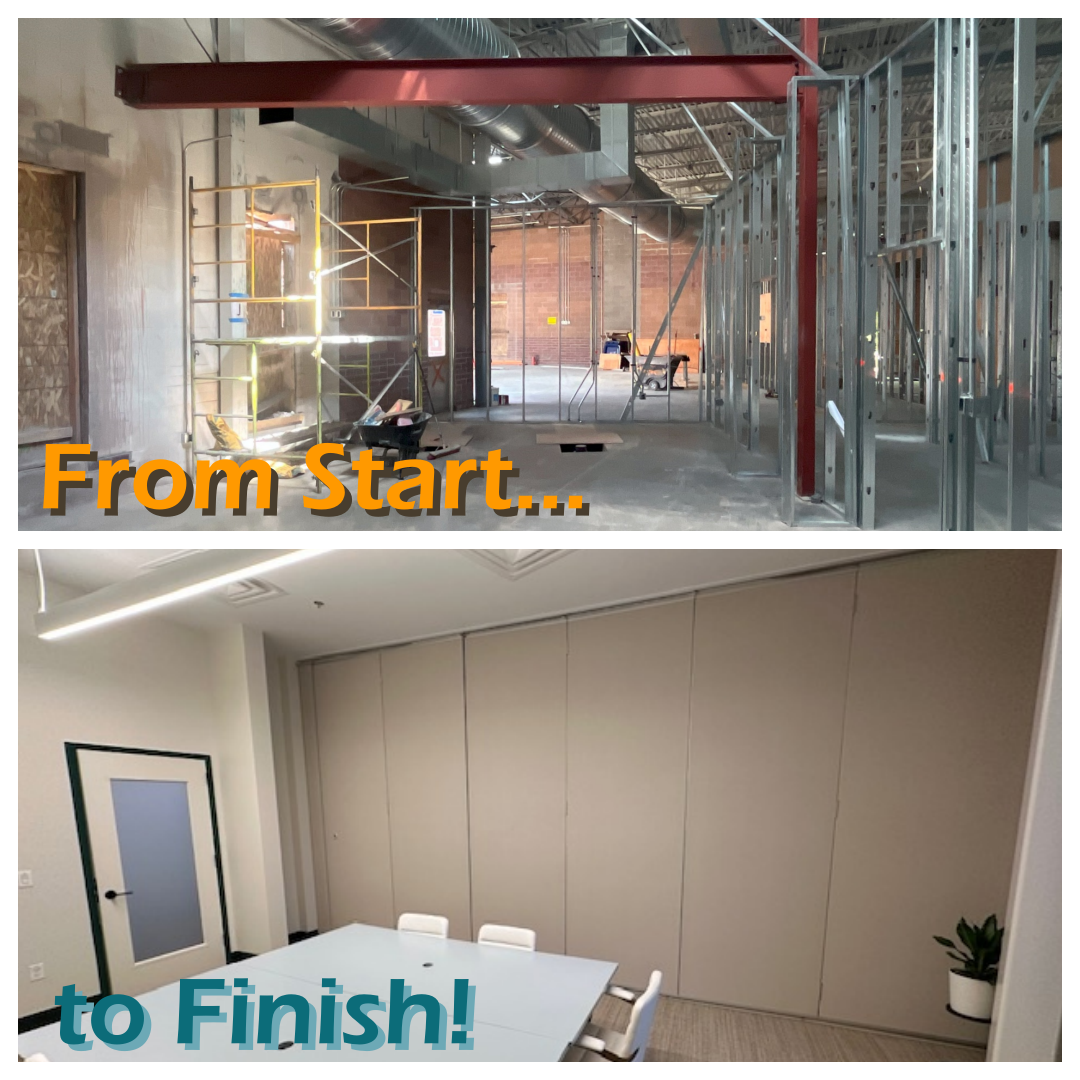
Operable Partition Installation: Order of Operations
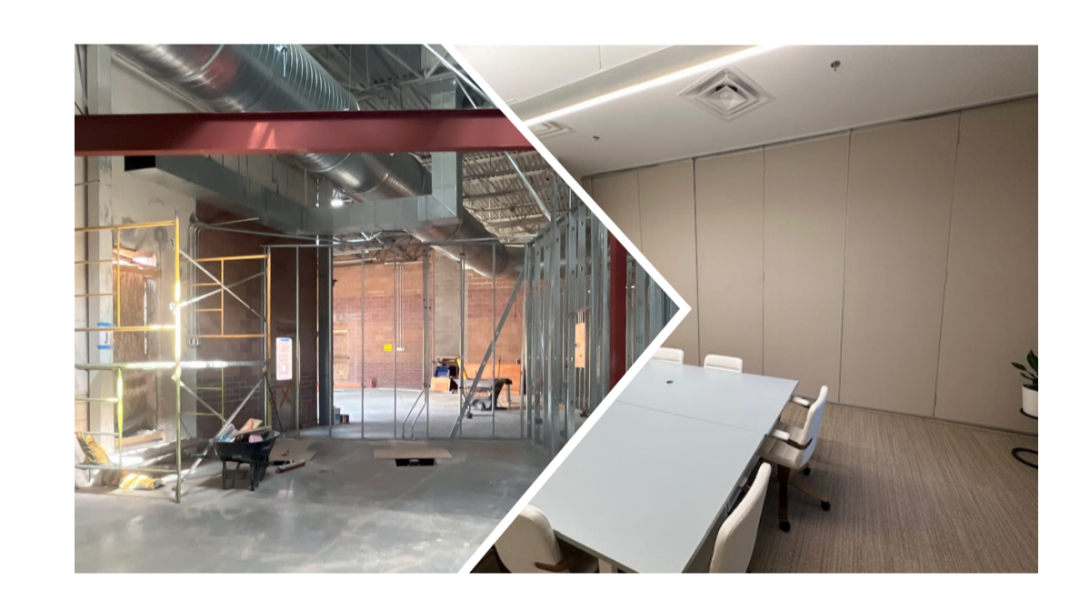
For those who may not work with operable partitions every day but somehow find themselves dealing with one, the procedures and sequence of achieving a successful installation is mysterious. Below is a sequence checklist for how to go from bid acceptance to building turnover. The surprise comes in the simplicity as the steps are few with waiting periods along the way.
Operable Partition Sequencing Checklist
- Submittal & Procurement Phase
- ☐ LOI/Notice to Proceed
- ☐ Issue purchase order to manufacturer
- ☐ Submit and obtain approval for shop drawings and product data (1 week for lead time for submittal)
- ☐ Confirm finish selection (vinyl, fabric, wood veneer, etc.)
- ☐ Coordinate lead time with manufacturer (typically 8-12 weeks after track installation and verification of field measurements)
- ☐ ✅ Milestone: LOI received, PO Issued to manufacturer, Submittals approved
- Rough Construction Coordination
- ☐ Ensure overhead structural support is installed and holes drilled per drawing
- ☐ Release track system for production (3-4 week lead time*)
- ☐ GC to coordinate overhead bracing with MEP trades to avoid conflicts
- ☐ Verify pocket framing locations and dimensions with GC (if applicable)
- ☐ ✅ Milestone: Structure ready to receive track; pocket framed (if applicable)
- Drywall & Ceiling Prep
- ☐ Avoid ceiling/wall finishes in partition zones
- ☐ Ensure clear access to overhead and pocket areas
- ☐ Install access panels if needed
- ☐ ✅ Milestone: Track area clear; substrate exposed
- Track Installation
- ☐ Install track to structural support per plans
- ☐ Take field measurements
- ☐ Use laser level to ensure alignment
- ☐ Coordinate bracket placement with MEP conflicts
- ☐ ✅ Milestone: Track installed, inspected, field measurements taken and signed off, panels released for production (8-12 week lead time* for panels from track installation and receipt of field measurements)
- Close Pocket Wall & Bulkhead
- ☐ Enclose soffit and pocket framing after track approval
- ☐ Install any trim blocking as required
- ☐ ✅ Milestone: Pocket and bulkhead enclosed
- Final Wall & Ceiling Finishes
- ☐ Complete painting, wall finishes, ceiling tiles, lighting
- ☐ Leave panel/pocket area accessible for final adjustment
- ☐ ✅ Milestone: Space clean, climate-controlled, and ready for panels
- Panel Delivery & InstallationPanel Delivery and Installation
- ☐ Deliver panels upright, store in clean/dry location
- ☐ Hang panels per layout and align with seals and track
- ☐ Install closure panels and pass doors (if applicable)
- ☐ ✅ Milestone: Panels installed, fully operational
- Quality Inspection & Punchlist
- ☐ Conduct internal QC walkthrough
- ☐ Coordinate GC/owner walkthrough
- ☐ Resolve punchlist items
- ☐ ✅ Milestone: Punchlist complete; ready for handover
- Final Commissioning & Handoff
- ☐ Provide operational demonstration to owner
- ☐ Submit warranty documentation and O&M manual
- ☐ Finalize sign-off of inspection form
- ☐ ✅ Milestone: System accepted by owner
*All lead times are subject to change at any time.